

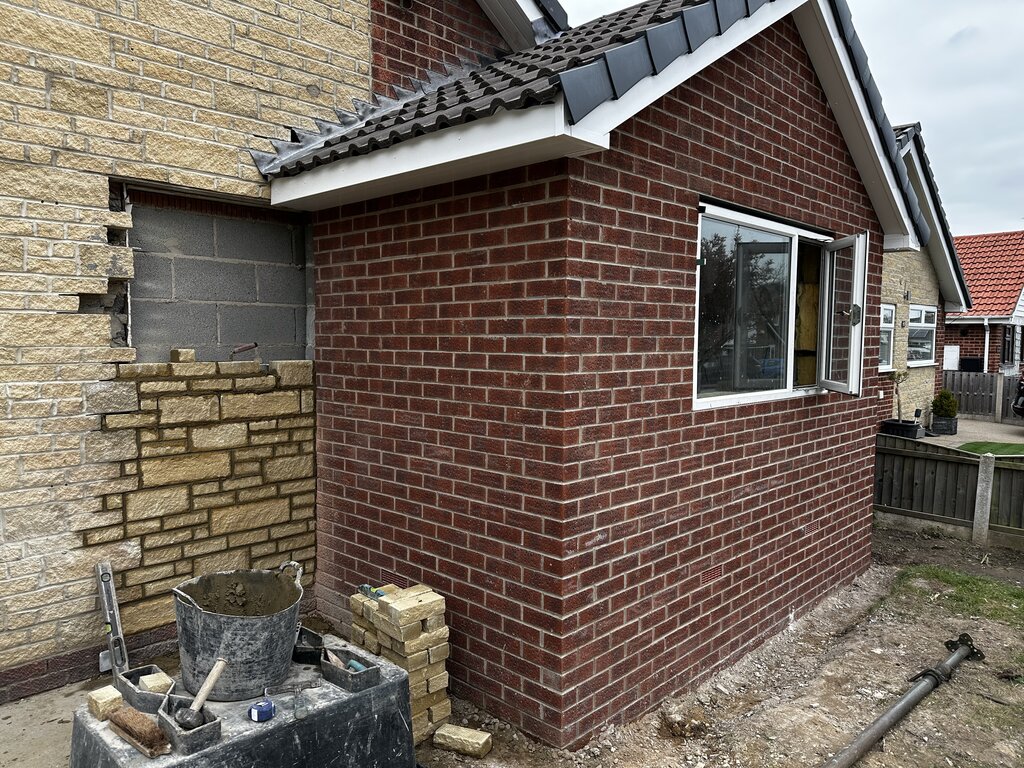
How We Built a 4×5 Kitchen Extension in Wakefield Step-by-Step
Introduction
If you’re thinking about building a 4×5 kitchen extension, it can be difficult to picture what actually happens once work begins.
In this blog, we’ll take you through a real project where we built a 4×5 kitchen extension in Wakefield, step by step. This will give you a clear understanding of the process, timelines, and what to expect from start to finish.
Planning and Preparation
Before starting this 4×5 kitchen extension, the client already had drawings prepared. We arranged a site visit to go through everything and check the key details:
- Drain locations
- Access for machinery and materials
- Ground conditions
- Positioning of the extension
We also made sure everything was ready for building control, as inspections are required throughout the build.
Getting this stage right helps avoid delays once work begins.
Setting Out and Groundworks
Once everything was agreed, we set out the footprint of the 4×5 kitchen extension ready for excavation.
This stage included:
- Marking out the exact size
- Digging foundations to a standard depth of 900mm
- Checking for any drainage issues
- Pouring concrete footings
After this, building control inspected the foundations before we moved on to the next stage.
Building the Structure
With the groundwork complete, we moved on to constructing the main shell of the 4×5 kitchen extension.
This involved:
- Building brick and block cavity walls
- Installing cavity insulation
- Laying the damp proof course
- Matching the new brickwork to the existing house
The walls were then built up to roof height, keeping everything level and in line with the property.
Roof Construction
Next, we constructed the roof structure.
This included:
- Installing the timber roof framework
- Adding felt and battens
- Tiling to match the existing house
- Fitting insulation within the roof
At this point, the 4×5 kitchen extension was fully watertight.
Windows, Doors and Structural Opening
We then moved on to installing windows and opening up the rear of the house.
This stage included:
- Fitting new windows and external doors
- Knocking through into the existing property
- Installing a steel beam (RSJ) to support the opening
This is usually the stage where clients really start to see the space come together.
First Fix Work
With the structure complete, we carried out first fix works.
This included:
- Electrical wiring for sockets and lighting
- Plumbing pipework for hot and cold water
- Heating pipework for the radiator
All of this is installed before plastering so everything is hidden within the walls and ceilings.
Plastering and Second Fix
Once first fix was complete, we moved on to plastering.
This included:
- Boarding the walls and ceilings
- Full plaster skim finish
- Allowing time for everything to dry
After that, second fix work was completed, including sockets, lighting, and final plumbing connections.
At this stage, the 4×5 kitchen extension was nearly complete.
Final Result
The finished result was a bright, open kitchen space that completely transformed how the house felt.
A 4×5 kitchen extension is one of the most popular sizes we build in Wakefield, as it creates a great amount of space without taking up too much of the garden.
Thinking About Your Own Extension?
If you’re considering a 4×5 kitchen extension in Wakefield or Leeds, we’re always happy to have a chat and take a look at your plans.
We can guide you through the process, check things like drains and access, and help you understand exactly what’s involved before you get started.


